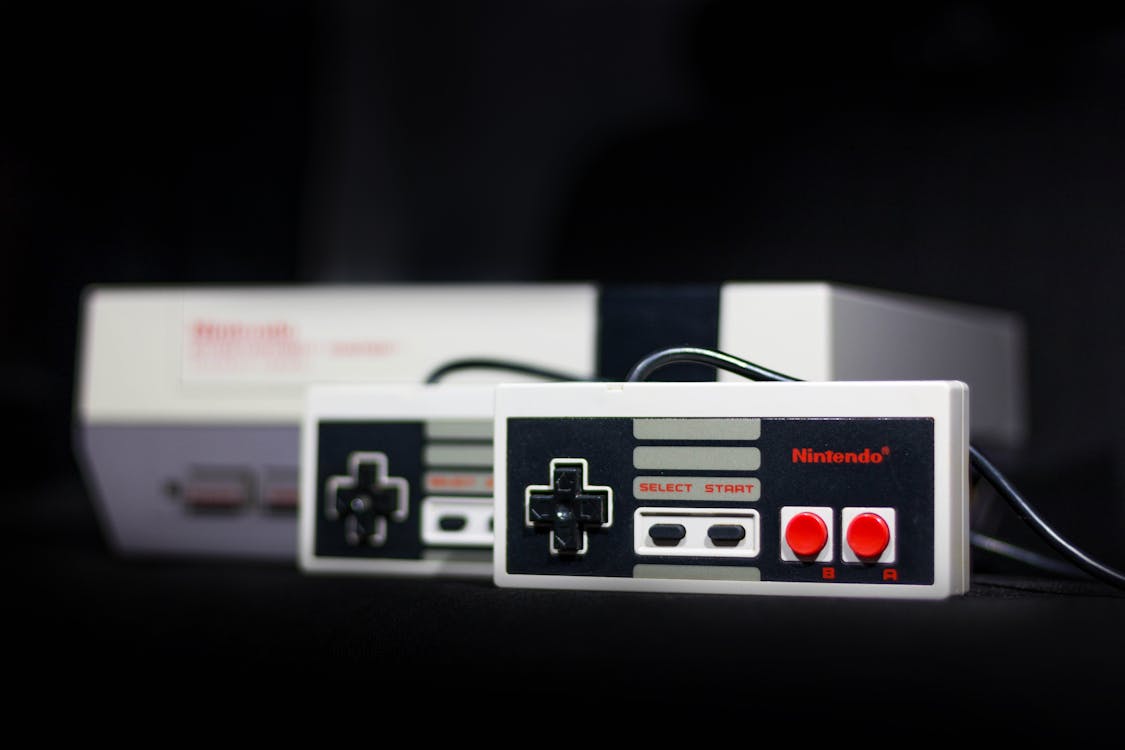
Super quick setup guide to playing retro games using RetroPie, Dolphin and Redream

Introduction
In this short article we'll quickly learn how to setup RetroPie with a Raspberry Pi 3b+ to play NES, SNES, GBA... and also setup Dolphin for GameCube and Redream for Dreamcast games on PC. I recently had a ton of fun setting these up and doing a little retro gaming and thought I'd share the experience I went through and what I learned 😄
This guide is designed to be no-nonsense (hopefully) - I won't be going into how to get game ROMs, the methods and ethics of acquiring ROMs are for someone else to discuss. I will also signpost to the very useful resources and videos I used and collated to get started. This should speed up the setup for you and reduce the amount of research you need to do!
With that out of the way, let's get started.
What you’ll need
I used the following to get a good retro gaming setup:
- A Raspberry Pi 3b+
- A 64GB SanDisk MicroSD card
- A laptop i5 processor, 8GB RAM and it's default nothing special graphics card - Intel HD Graphics 4400
- The latest version of RetroPie - go to the RetroPie Download page and download the latest version for your Raspberry Pi, for me this was the "Raspberry Pi 2/3/Zero 2 W" button. This worked well for NES, SNES, GB, GBC, GBA, N64 (some games are slow though), Dreamcast (some games are slow though).
- The PS1 BIOS files - search for PS1 BIOS files ... you're looking for .bin files named scph5500, scph5501 and scph5502
- The latest version of Dolphin - go to the Dolphin Download page and download the latest version for your OS such as Windows x64 v5.0-21264
- The latest version of Redream - go to the Redream Download page and download the latest version for your OS such as Windows v1.5.0
- Some game ROMs
I found the 3b+ couldn't quite handle Dreamcast and since it's 32 bit, it couldn't install Redream. It also struggled with some N64 games and definitely wouldn't handle GameCube. Everything else was perfect including PS1. So I think Dreamcast and GameCube are best left for a half-decent laptop.
RetroPie - Setup and adding ROMs
- Head to the RetroPie first installation page watch the video, follow the steps there to add RetroPie image to your MicroSD card
- Insert the MicroSD card into your Raspberry Pi
- Attached the power, HDMI and controller to your Raspberry Pi
- EmulationStation launches on bootup, then configure your controller buttons
- Find the device's IP by selecting the Show IP option in the RetroPie menu after booting up your Raspberry Pi.
- Add ROMs by copying them into the relevan folders at the IP address like \192.168.1.113\roms for example
- Select a game to launch it - you can then adjust the settings, change the emulator etc just before it loads
You can also transfer ROMs by using a USB stick too if you prefer to do it that way instead of transferring over your network.
RetroPie - Saving your game
After launching a game, select + right bumper saves the state, and select + left bumper loads the state. This saves to slot #0.
To save to another slot, press select + dpad left or right to change save slot, then same as before select + right bumper saves the state, and select + left bumper loads the state.
This video tutorial neatly covers up this process.
RetroPie - Configuring PS1, NDS and DC
- You will need to install an additional emulator for Nintendo DS called Drastic. Then add ROMs to the new "nds" folder in the RetroPie roms folder over the network.
- You will need to install an additional emulator for DreamCast called reicast or lr-flycast. However, a much better emulator is Redream mentioned later in the article. Since Raspberry Pi 3b+ is 32 bit Redream won't work on it, so a laptop/PC seems the better option for Dreamcast against 3b+.
- You will need to add additional BIOS files to play PS1 games - you can find these with a quick web search. Also, ensure you add both the .bin files and a .cue file for the ROMs to the /roms/psx/ folder and ensure they are unzipped. You can take .bin files and create a .cue from them using a cue maker.
Dolphin - Setup and adding ROMs
So as mentioned earlier, I found the 3b+ definitely wouldn't handle GameCube. Everything else was perfect including PS1. So I think GameCube are best left for a half-decent laptop. The setup is pretty straightforward.
- Download the installer from the Dolplhin site.
- Run the download to launch Dolphin
- Follow this handy video tutorial to get setup with your controller and ROMs
- Launch a game
- To save/load a game, go to the taskbar at the top, select Emulation > Save/Load State > Save State to Slot/Load State from Slot
Redream - Setup and adding ROMs
So as mentioned earlier, I found the 3b+ couldn't quite handle Dreamcast and since it's 32 bit, it couldn't install Redream. Everything else was perfect including PS1. So I think Dreamcast are best left for a half-decent laptop. The setup is pretty straightforward.
- Download the installer from the Redream site.
- Run the download to launch Redream
- Go to the library tab and add the folder containing your ROMs seen below
- Launch a game
- To save/load a game, while in the game hit the 'Esc' key which brings up the menu seen below, then save to a slot. You get 1 slot for free at the time of writing and to unlock more requires a payment.
Bonus - How to format an SD card to default code snippet
Just in case you have a MicroSD card which is already in use and you want to effectively factory reset it to it's default settings, wipe it and then add the RetroPie image:
- Search for diskpart.exe
- Open as admin in a command prompt
- Type
list disk. ... - Type
select disk Xwhere X is the SD card drive number. ... - WARNING! Make sure you have selected the correct disk before proceeding as it will wipe the selected disk completely
- Type
cleanto clean the drive and wipe it
Bonus - Overclocking your Raspberry Pi 3b+
Insert the MicroSD into your PC then in the boot folder find the "config" file. Open this in Notepad++ or Visual Studio, then edit and increase the arm_freq variable to overclock. This is the section you're looking for...
...

#uncomment to overclock the arm. 700 MHz is the default.
#arm_freq=800
arm_freq=1400

...
This video tutorial neatly covers the process.
Happy retro gaming
That's everything for this one! There are lots of things to explore when it comes to retro gaming. I really enjoyed trying to set this up and learnt a lot in the process.
I hope you enjoyed this article and found it useful, thanks for reading. Since you read this article all the way to the end you might also be interested in:


